

So that the approach of winter holds no fear, it is worth arranging autonomous heating for the house. The best option is to install a system that does not depend on gas or electricity: heating the house with a wood-burning fireplace.
A correctly chosen wood-burning insert with heat distribution between rooms can heat the whole home, even if there is no gas and no power. In this article we explain how to install a fireplace insert correctly, following the basic rules of installation and safety.
How is a wood-burning fireplace insert installed?
For a wood-burning fireplace to work efficiently and reliably, the following technical conditions must be met during installation of the insert:
1) Build a correct convection chamber:
- use non-combustible insulating materials;
- keep a distance of at least 50 mm from the rear wall of the insert to the wall of the convection chamber;
- keep a distance of at least 100 mm from the side walls of the insert to the wall of the convection chamber;
- leave a technological gap of 5–10 mm around the door frame.
2) Install the required number of ventilation grilles for the air supply into the convection chamber, calculated at 50 cm² per 1 kW of nominal output.
3) Provide the required number of ventilation grilles for the heated air to leave the convection chamber, calculated at 70 cm² per 1 kW of nominal output.
4) Build a decompression chamber.
These requirements must be met so that the fireplace works on the physical principle of convection (which is why it is called a convection fireplace). Convection is the transfer of heat in liquids, gases or granular media by the movement of the substance itself. In convection the lower layers of the substance heat up, become lighter and rise, while the upper layers cool, become heavier and sink — and the process repeats over and over.
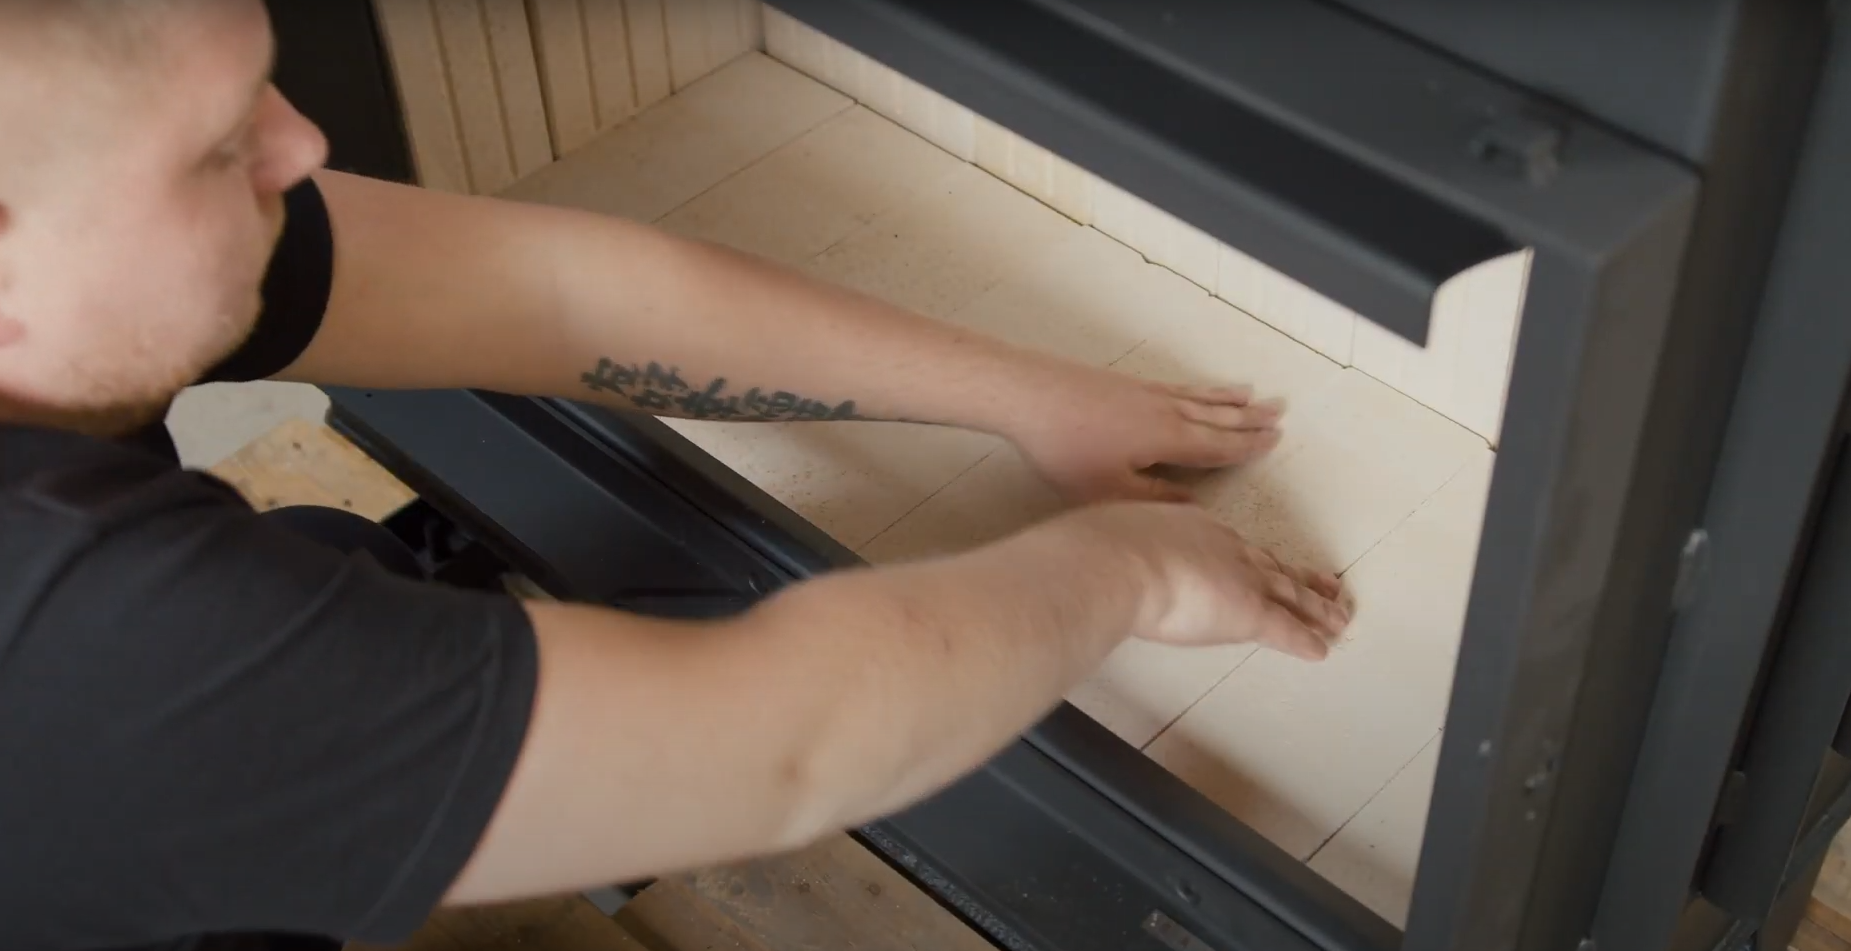
How many grilles does a fireplace insert need?
The area of the ventilation grilles is calculated from the nominal output of the insert: 50 cm² per 1 kW for the cold air inlet and 70 cm² per 1 kW for the heated air outlet. To save you the arithmetic, here are ready figures for the most common outputs.
| Insert output (kW) | Inlet area (cm²) | Outlet area (cm²) |
|---|---|---|
| 8 | 400 | 560 |
| 10 | 500 | 700 |
| 12 | 600 | 840 |
| 15 | 750 | 1050 |
| 18 | 900 | 1260 |
| 20 | 1000 | 1400 |
This is the total area: it can be made up either by one large grille or by several smaller ones. For a 12 kW insert, for example, you need 600 cm² of inlet at the bottom of the convection chamber and 840 cm² of outlet at the top.
An important detail: the calculation uses the free (open) area of the grille — the area of the openings through which air actually passes. It is always smaller than the overall dimensions of the grille, because part of it is taken up by the frame and the bars. So grilles cannot be chosen by eye from their outer size — go by the free cross-section.
Which SAVEN grilles are available?
The SAVEN catalogue has four lines of fireplace ventilation grilles. They differ in shape and installation method, so a solution can be found for practically any surround:
- CLASSIC — classic ventilation grilles, the familiar look for most surrounds;
- LOFT — straight grilles in the modern loft style, the widest choice of sizes;
- LOFT ANGLE — corner loft grilles, designed for corner fireplaces;
- HIDE — concealed grilles, almost invisible in the surround.
All the lines are gathered in the fireplace grilles section. For current sizes, colours, availability and prices please check with a manager or a representative in your region — the set of grilles is matched individually to the output of your insert.
You can choose the insert itself in the straight steel inserts, corner steel inserts, inserts with a guillotine door and BALANCE series sections.
What mistakes are made when installing an insert?
If you want to install a wood-burning insert yourself, we strongly recommend being extremely careful and following the manual to the letter.
It is forbidden to use a fireplace insert:
- without having built the convection chamber;
- without having built the convection box correctly.
This above all affects the safety of using the fireplace, and it also voids the warranty on the product. Ignoring these rules leads to overheating of the insert, which can damage the fireplace itself and cause a fire. So follow the manual — this is a matter of life safety first of all. The best solution is to turn to professionals who will carry out the installation quickly, properly and, most importantly, safely.